How to Share Skills by Demonstration in a Community Group
Skills shared by demonstration help a community group see, practise and adapt a task, with clear ways to make each movement easier to follow.
The common mistake when sharing skills by demonstration is assuming that watching once is enough. A learner may see what happened but miss why a hand paused, a tool changed direction or a material was judged ready. Those details are often what make a skill difficult to repeat.
For a community group, demonstration offers a direct way to share know-how: show an action, invite questions and give the learner a turn. It need not replace a planned class; it can sit alongside one, or happen during ordinary shared work.
What does demonstration make easier to see?
An explanation can name the parts of a task. Demonstration shows their timing and relationship. Someone can describe sharpening a garden tool, but seeing how the file meets the edge and how pressure eases gives the learner something specific to observe.
Some decisions are hard to explain until someone asks about them. A skilled person might notice that fabric is taut enough, dough has the right feel or a hinge needs a lighter touch. Ask what they are noticing at the moment they make that judgement, rather than expecting them to produce a complete explanation in advance.
Showing more than one method can also distinguish the purpose of an action from a personal habit. One person might mark a cut with a pencil; another might align the material against a bench edge. The useful question is what the task requires, not which person owns the correct pencil.
How do you share a skill by demonstration clearly?
Choose one complete, visible task rather than trying to cover an entire craft. Put the materials where participants can see them, and check that a body, tool or pile of supplies does not hide the important movement. For a larger group, a phone camera aimed at the work surface may help if someone can keep the image in view.
Show the task at its ordinary pace first. Then repeat the part where judgement matters, slowing down only enough to reveal a hand position or change in pressure. A pause after a stage gives learners a chance to ask what they saw, without breaking every movement into fragments.
Explain the purpose behind an action as well as the action itself. “Hold the cloth here so it cannot creep” gives a learner a reason they can apply elsewhere. “Put your hand here” may work for that particular demonstration and little beyond it.
What should learners do after watching?
Give the learner a turn with the materials and time to notice what changes when their own hands take over. Ask a concrete question: did the wood move, did the seam stay flat, or did the tool slip? These observations help the learner compare what they intended with what the material did.
Useful prompts focus attention without supplying an answer. Ask, “What changed when you eased the pressure?” or “Which part felt hardest to control?” The demonstrator can then explain a judgement that might otherwise remain invisible.
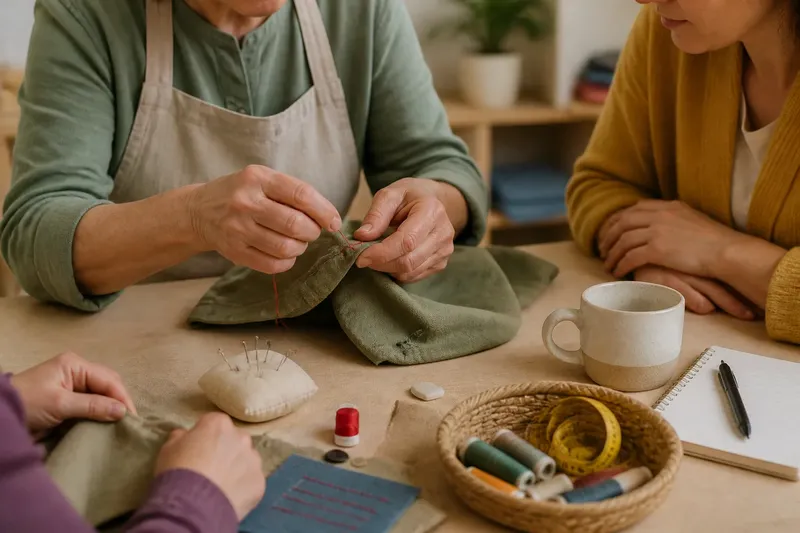
Say a neighbour arrives at a community sewing table with a loose button on a coat. You show how to anchor the thread, then they practise the motion on scrap fabric before touching the coat. If the thread bunches, you point out where the needle is pulling too tightly; the learner tries again with gentler tension and can see whether the thread lies flatter.
How can a group make room for different methods?
One person’s preference can easily sound like a rule. Separate what the task needs from the demonstrator’s chosen method: keeping a cutting line steady may matter, while using a particular ruler may not.
Invite another experienced participant to show an alternative, especially when tools, materials or physical abilities differ. Discuss what each approach depends on, such as the available surface, the material or the learner’s comfort. Adaptation is part of sharing a skill, not evidence that someone has copied badly.
Let learners ask for another view or a different angle. If a task involves hazards or specialist equipment, follow the product instructions and relevant local requirements; informal imitation is not a substitute for appropriate safety guidance.
How can you keep shared know-how useful later?
A modest record can preserve details that are easy to forget: a clear photograph of the setup, a note about the materials and the demonstrator’s explanation of the judgement that mattered. A caption such as “stop when the edge lies flat” says more than “finish the job”.
Ask the learner to show or explain the task back in their own words. This is not a test; it helps the group see which parts were clear and which need another look. Record different methods as alternatives, so the next person does not mistake one person’s habit for a universal rule.
What do people ask about sharing skills by demonstration?
Is demonstration the same as formal teaching?
No. Demonstration can take place during shared work, with a learner observing, asking and trying; formal teaching may instead follow a planned sequence with defined outcomes. A group can use either approach without making every exchange feel like a class.
How often should a skill be shown again?
Repeat the part the learner cannot yet see or reproduce, rather than replaying the entire task automatically. Ask what they would like to watch again, then choose an angle that makes the movement clearer.
Can someone learn from a recording alone?
A recording can preserve hand positions and let someone revisit a sequence, but it cannot respond to a question or notice a learner’s difficulty. Pair it with a chance to practise and speak with someone familiar with the task.
What if the demonstrator cannot explain a decision?
Ask them to pause where they make the choice and describe what they notice. If the judgement remains difficult to put into words, change one action at a time and compare the visible results, taking care not to do this with hazardous tasks unless the process is safe.
How does sharing skills by demonstration fit a workshop?
Use a demonstration to make one local skill visible before or during a workshop, without assuming that every useful exchange needs a polished lesson plan. Make the action easy to see, give people a chance to try and treat questions as part of the work.
For a future session, choose an everyday task someone in the group already knows and let them show it at their usual pace. Then give another participant room to try an alternative and explain what changed. That leaves the group with more than a set of notes: a skill they can discuss, practise and adapt.